
Pulp Pages and How to Make Paper
Dive into the world of papermaking through a hands-on process using repurposed materials!
This summer we’ve got a new event! We’re making paper, but with an environmentally-friendly twist! We’re using recycled paper! Junk mail, scrap paper, pieces from leftover art projects– material that would have ended up in the trash can or recycling bin.
We’ve been wanting to do a paper making event for YEARS, but we struggled with the logistics. We asked ourselves- how can we tweak the paper making process to fit into the hustle and bustle of an event?
Learn about how we brought this classic art-making skill to the public AND how you can make paper at home!
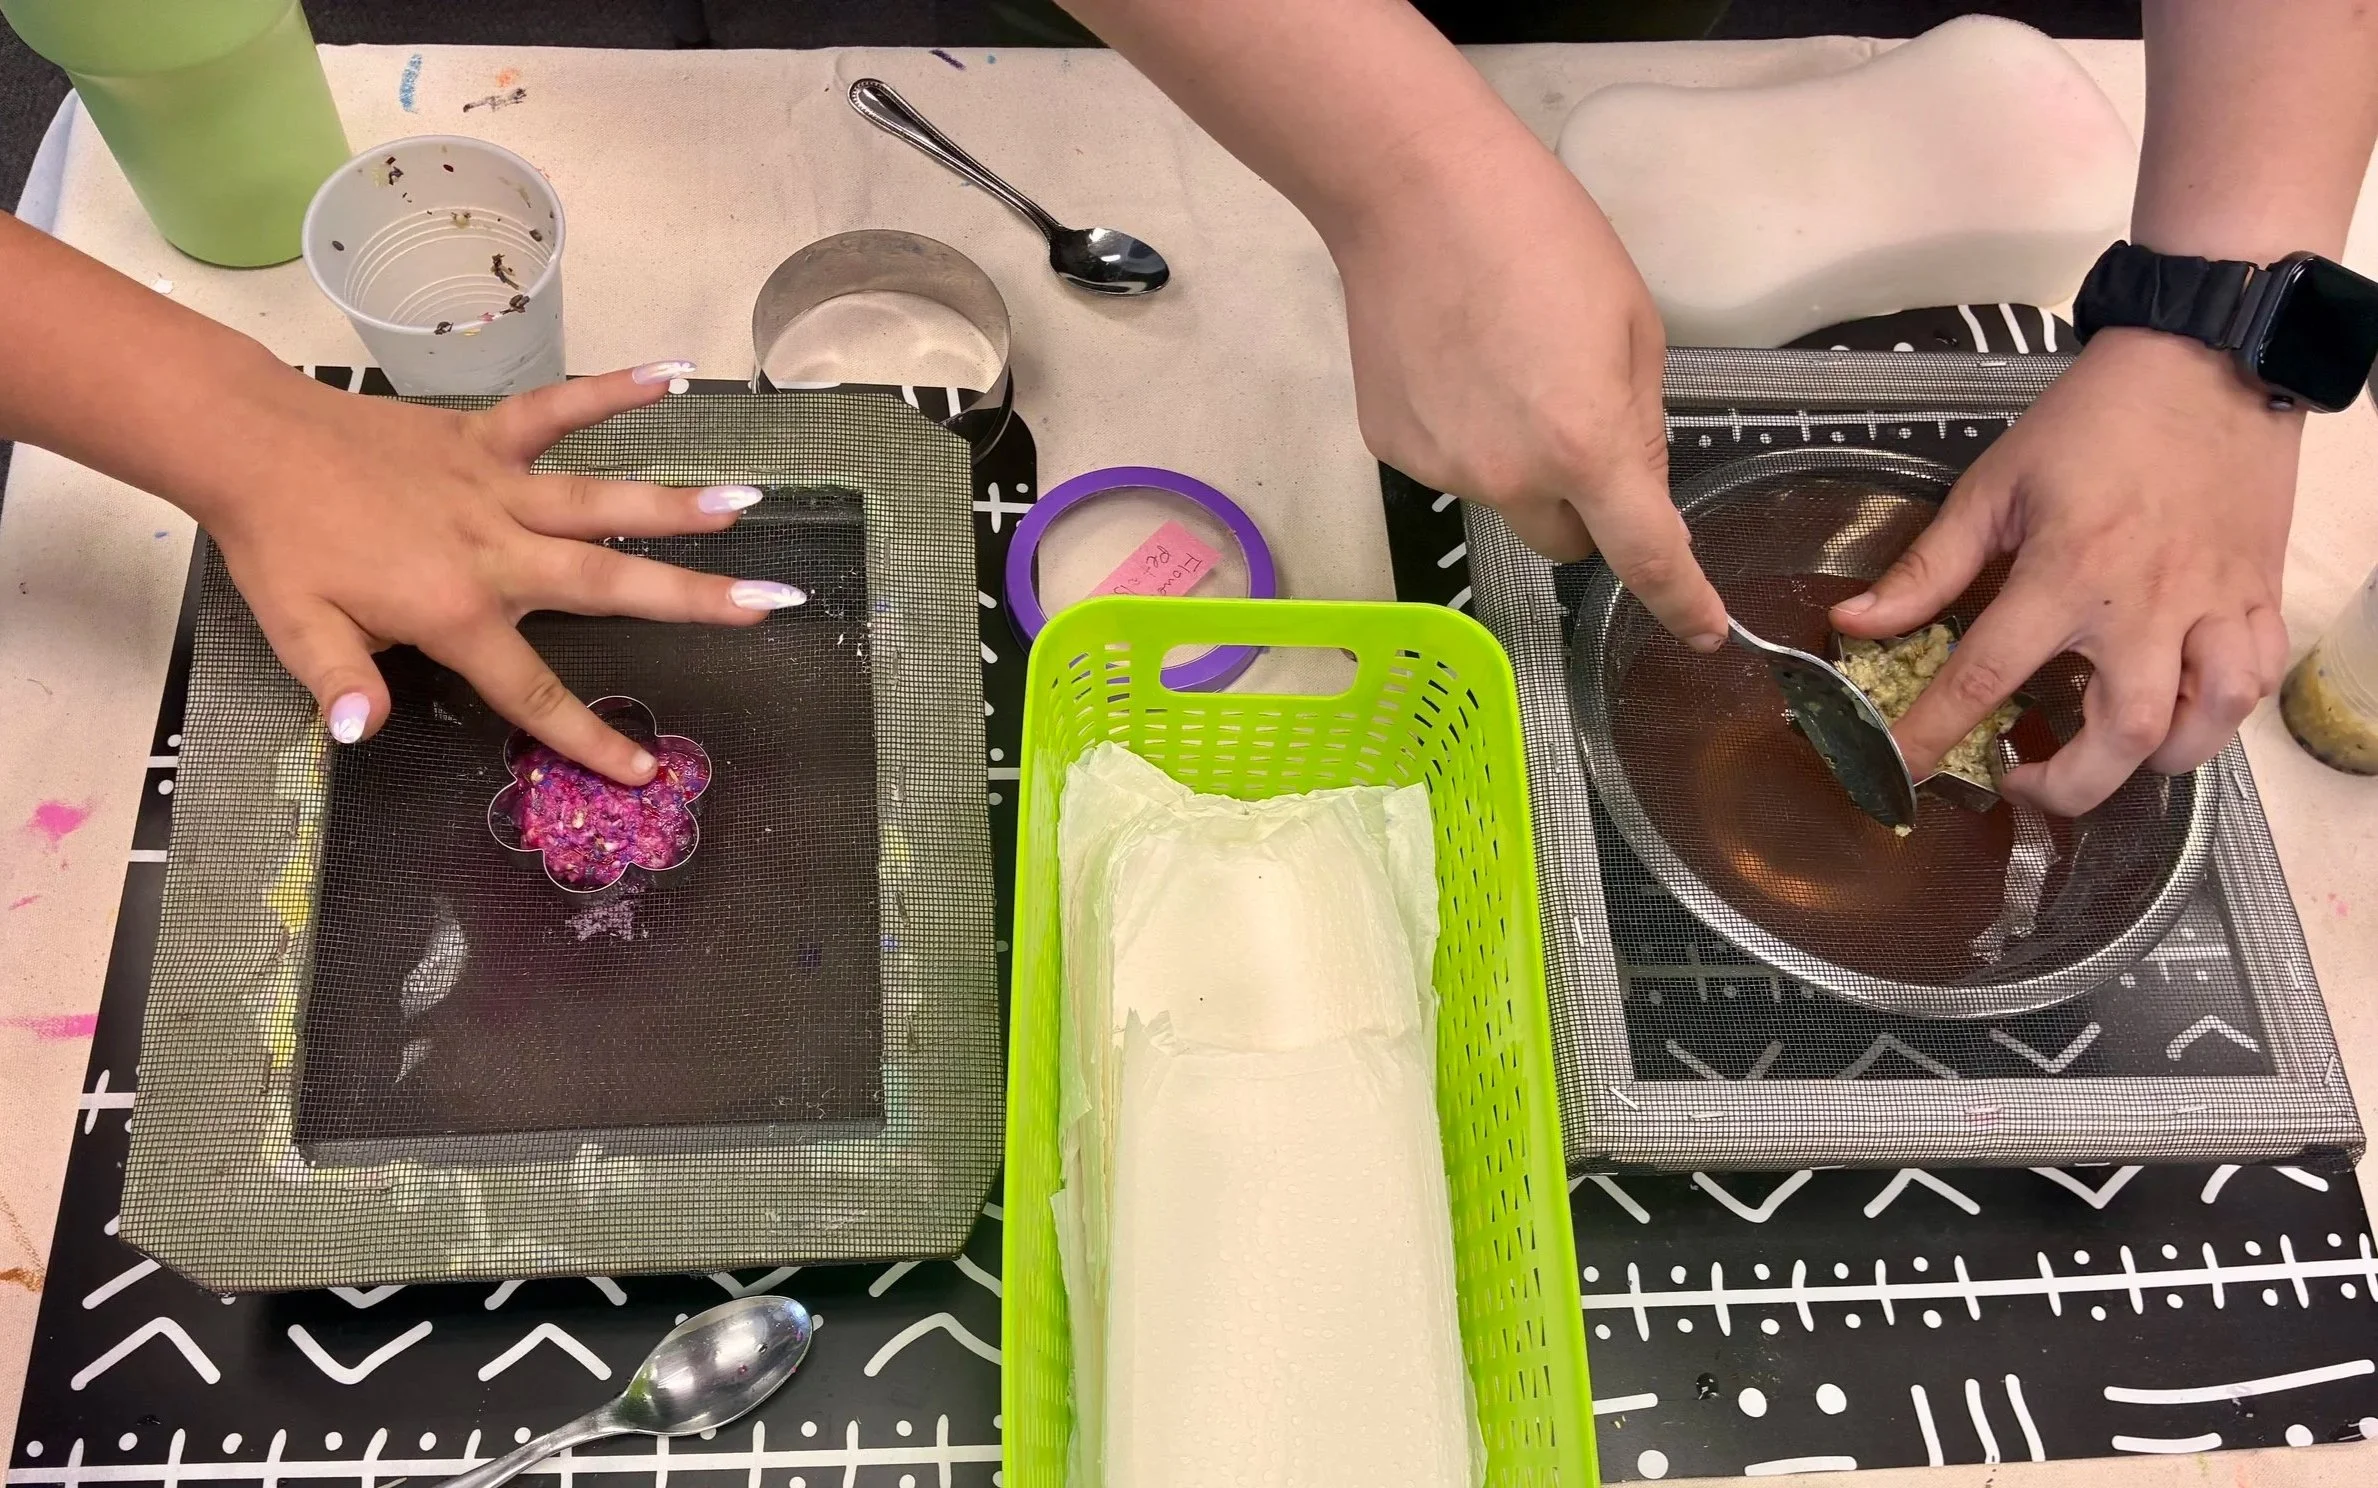
Typically, homemade paper making is done by dipping equipment called a deckle and mold into a basin of paper pulp. However, it can be quite messy and wouldn’t lend itself well to an event environment.
Another popular way of making paper is with tin cans. In this process, a screen is placed between two tin cans and paper is poured into the can. This process is kid friendly, but we can be a little limited in artistic choice, and we always strive to find event themes that encourage experimentation and creativity.
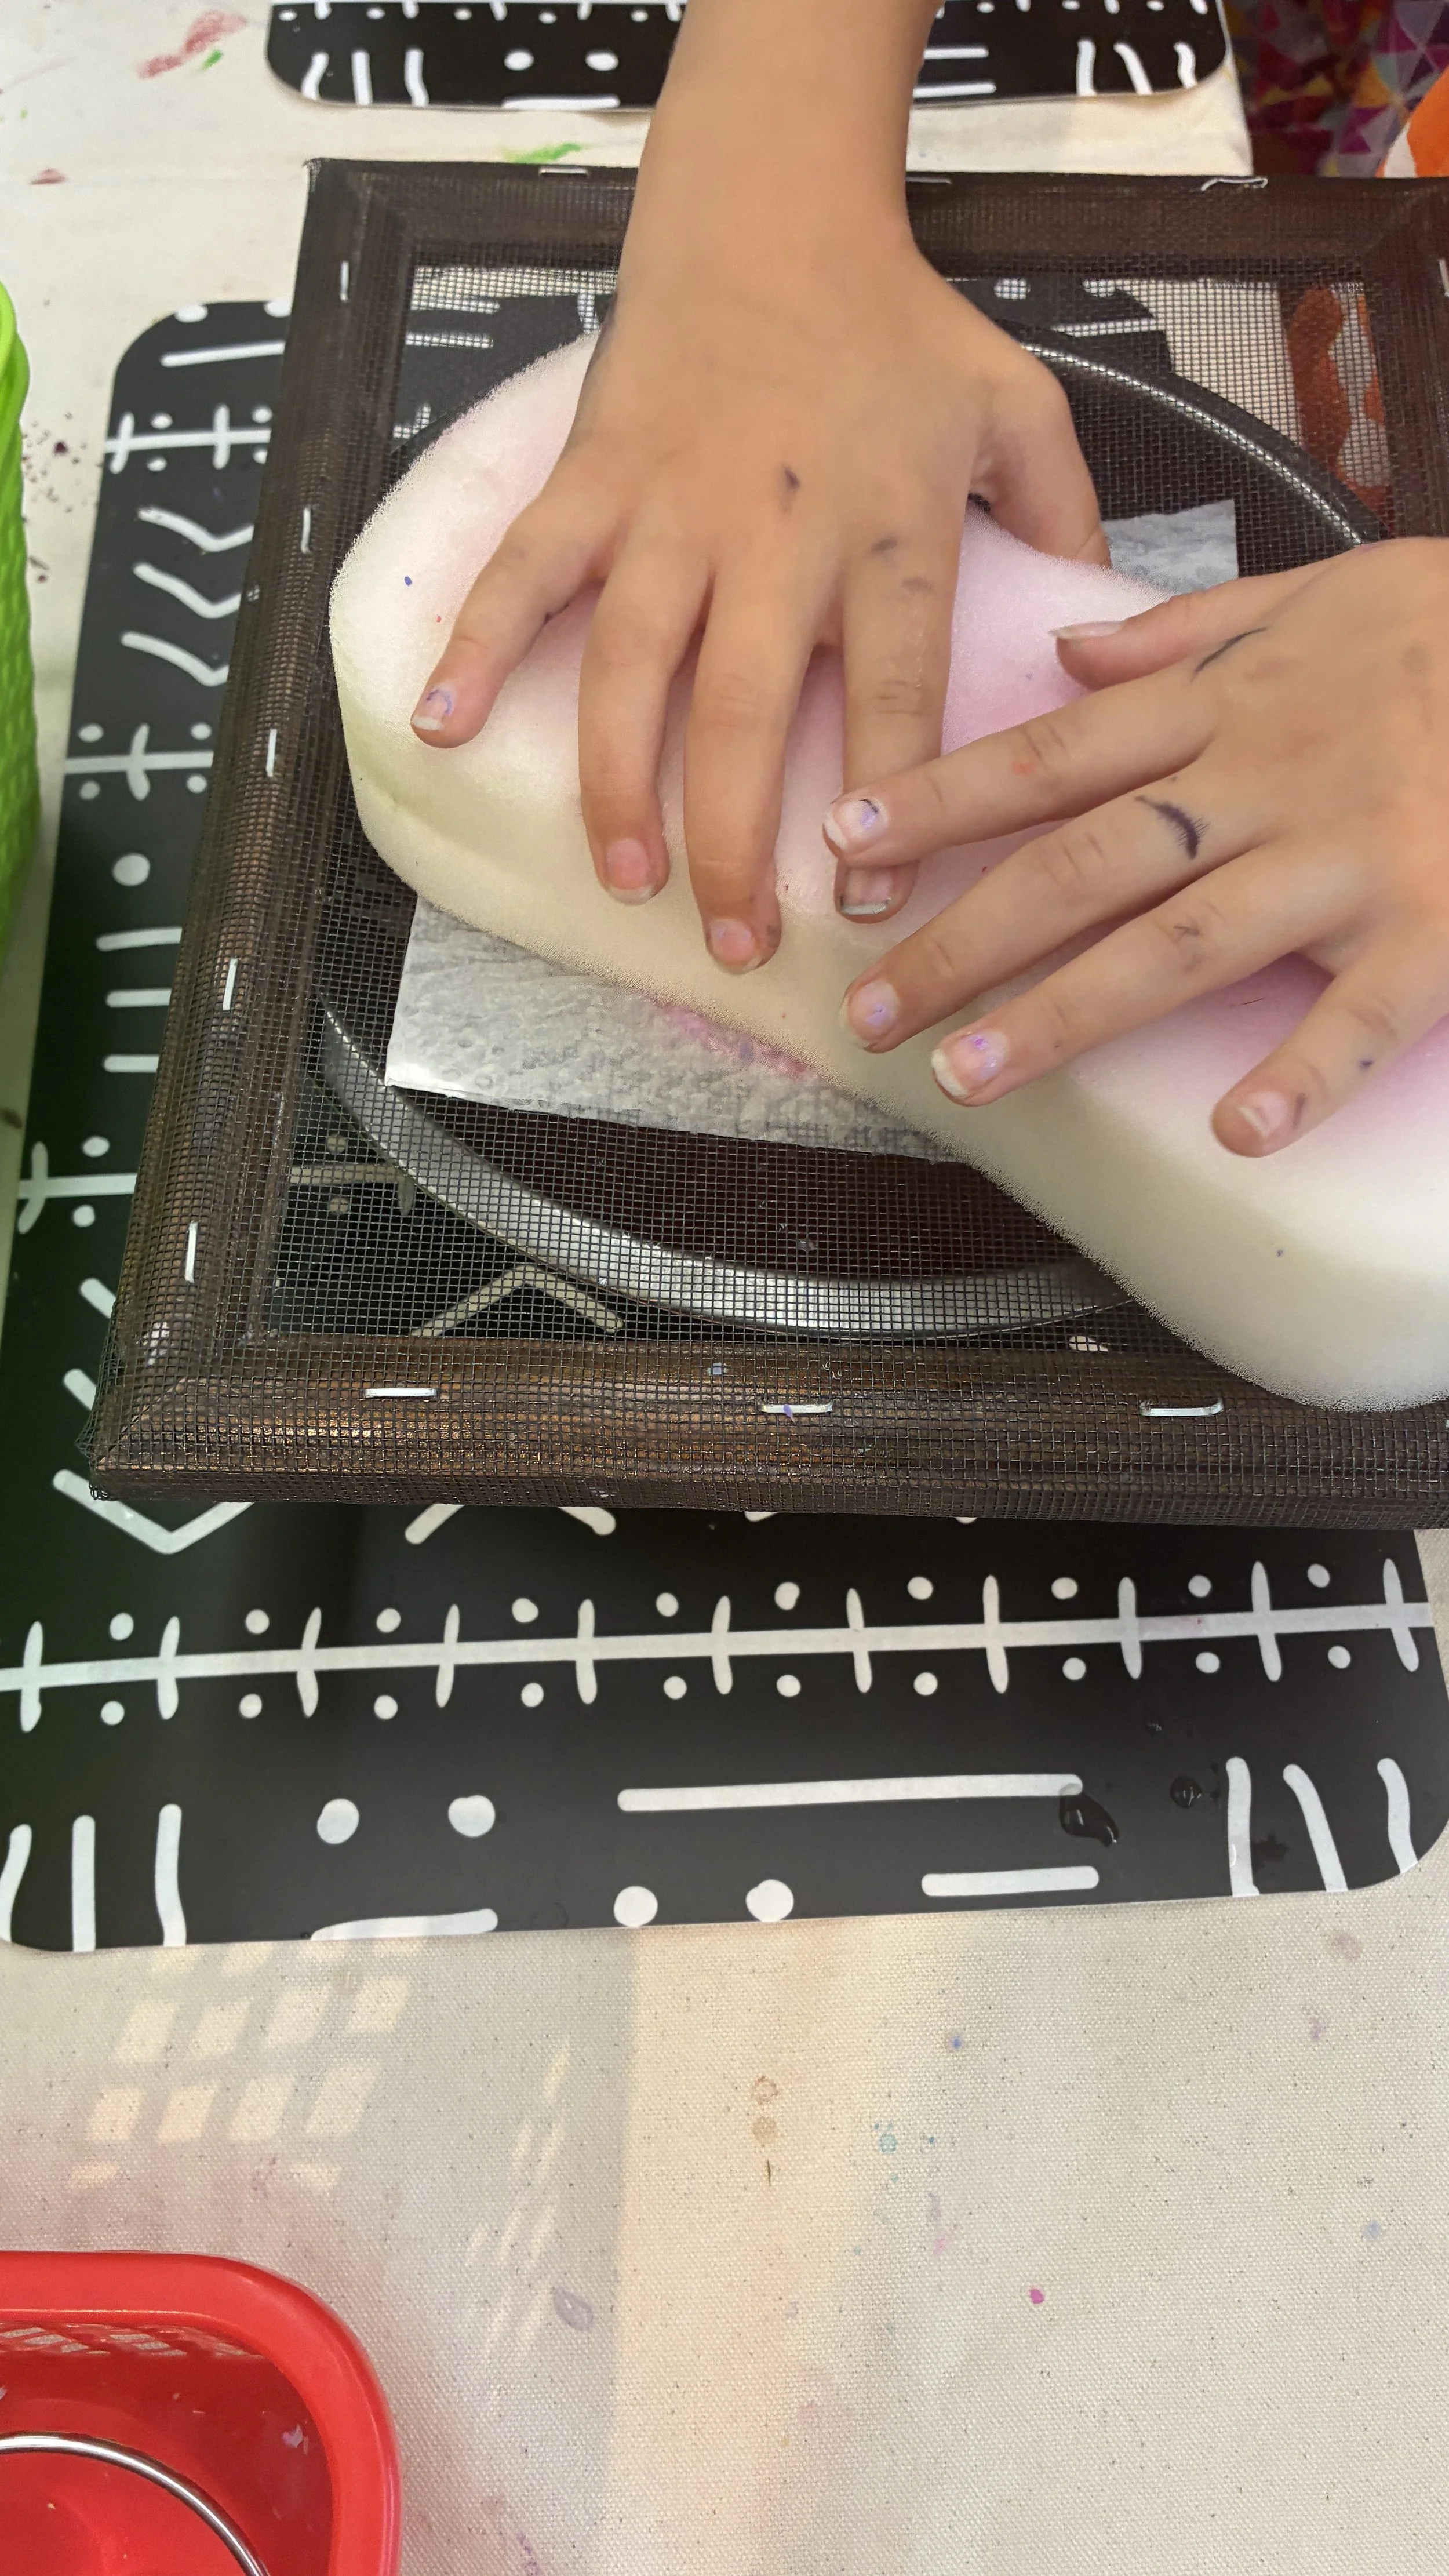
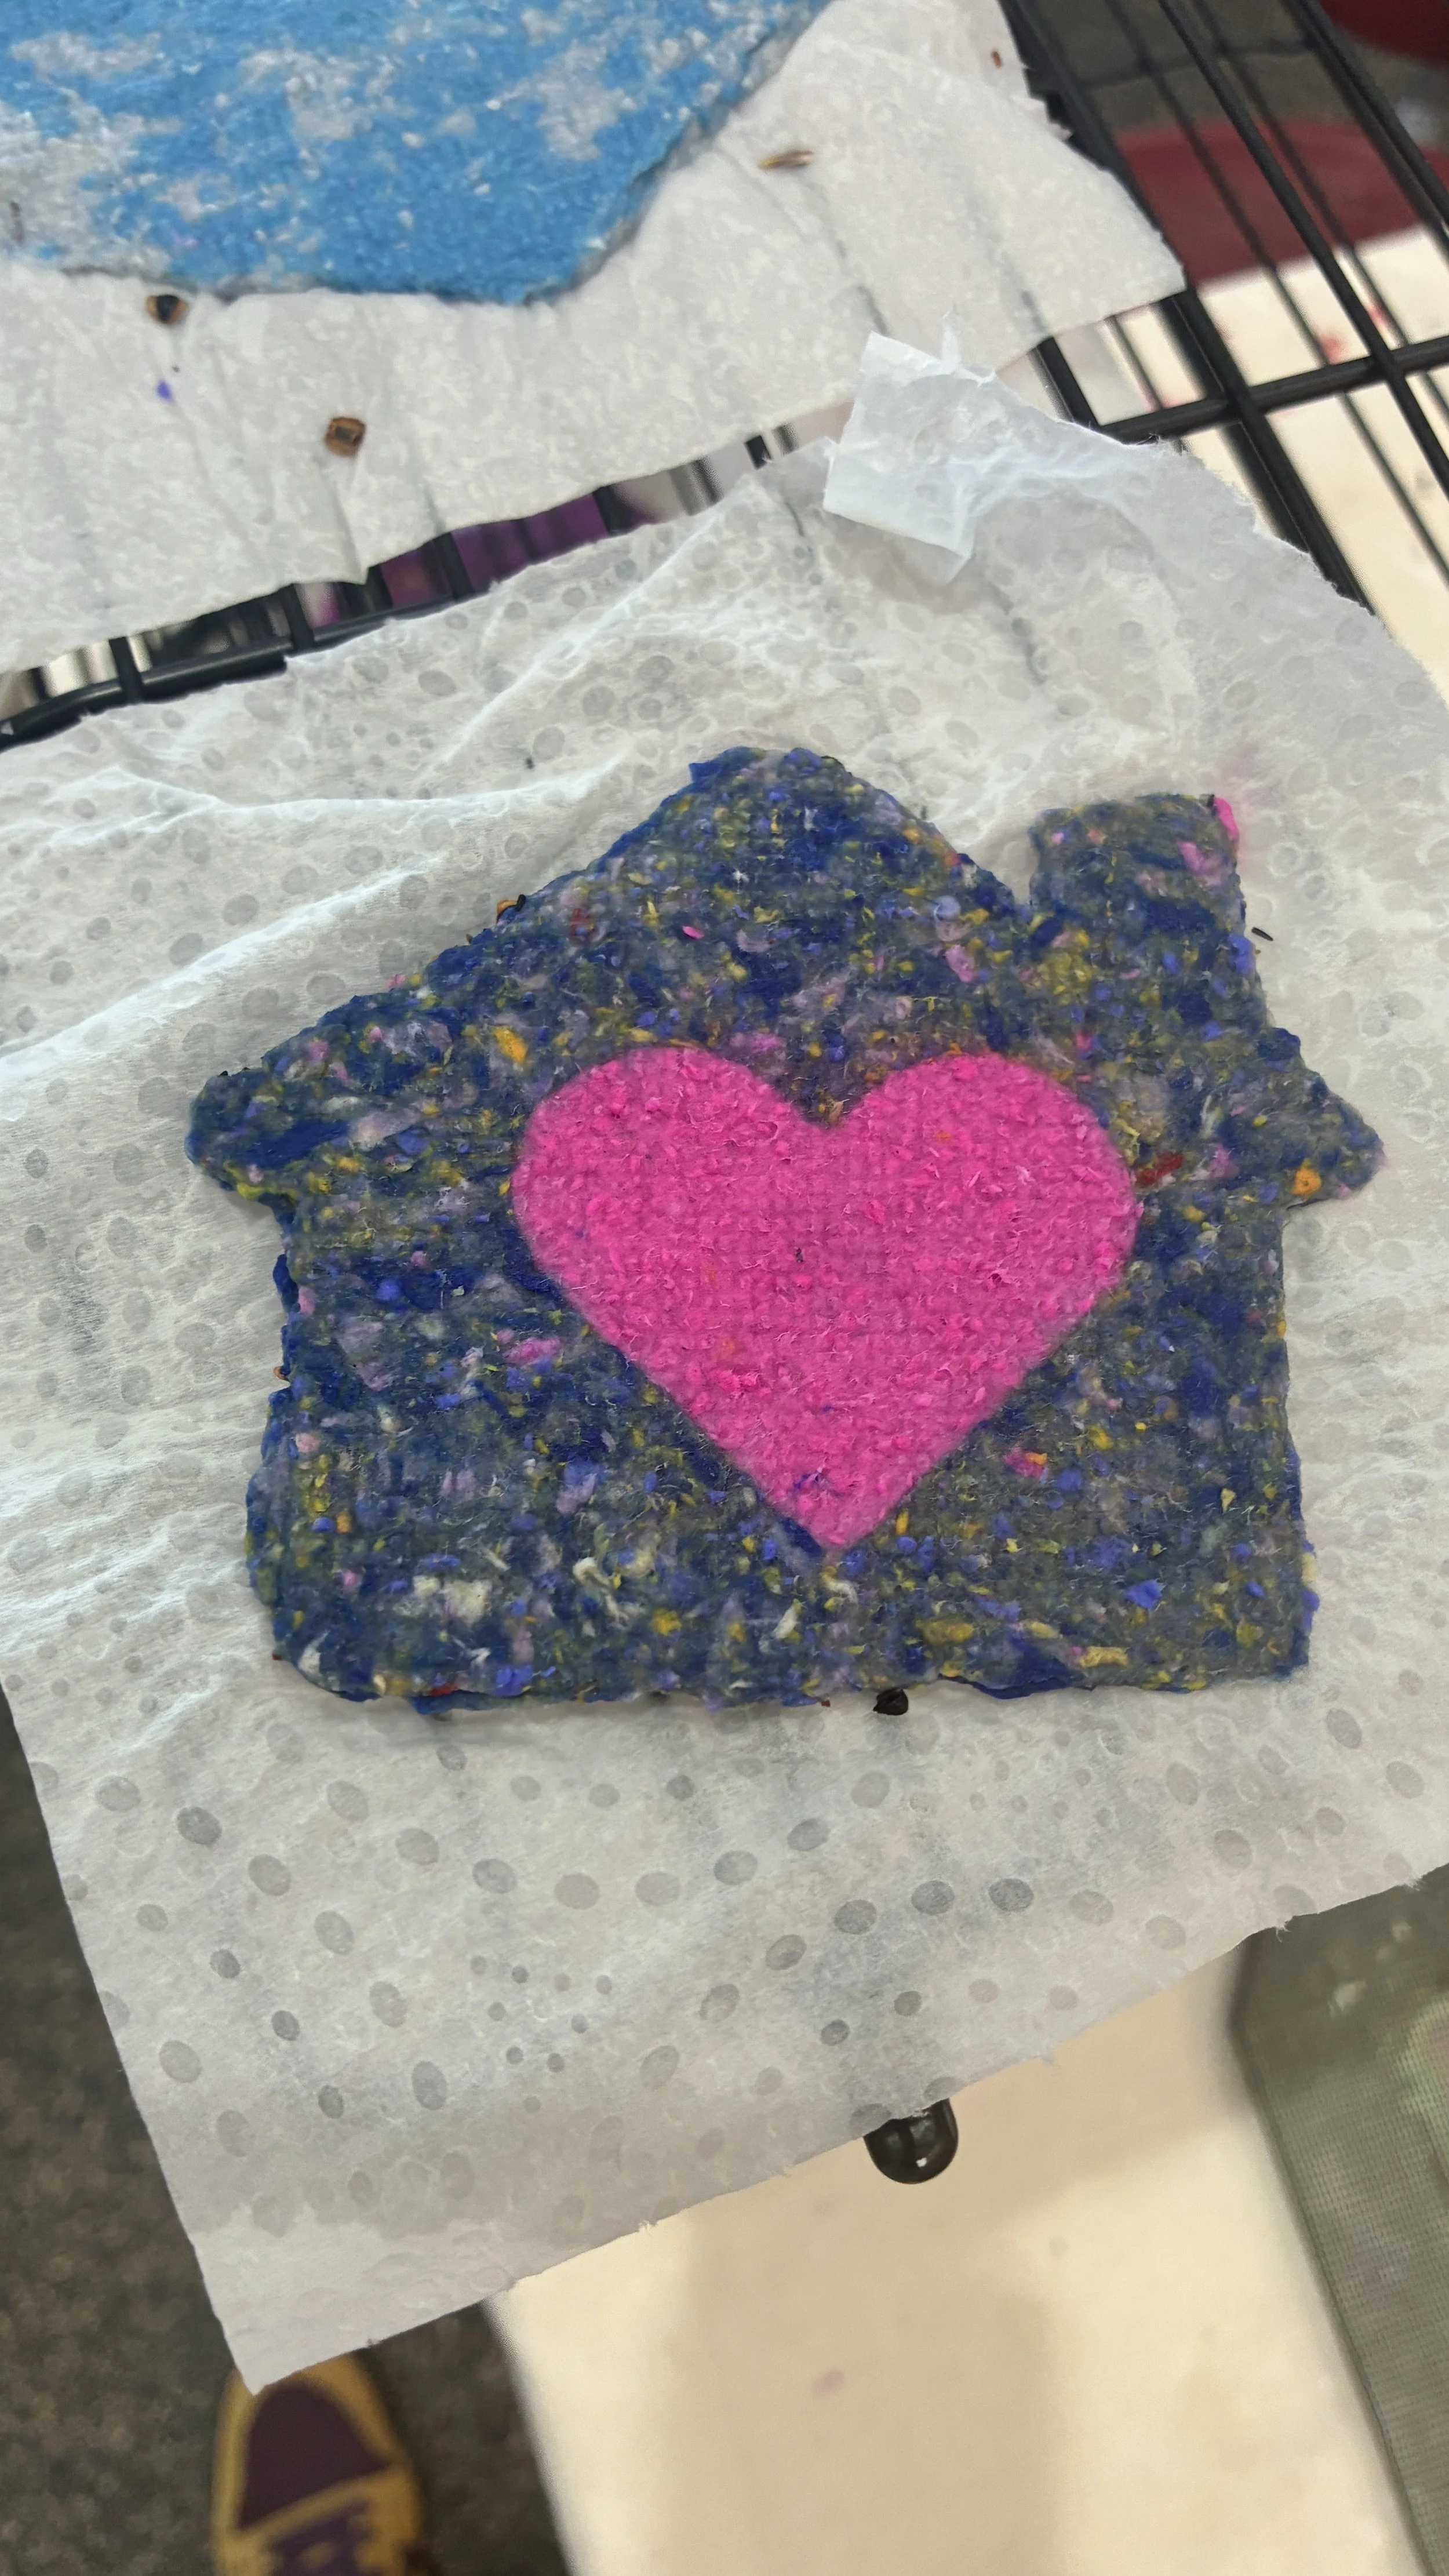
We landed on something that combined these two methods, using a homemade mold (a picture frame with window screen attached to it), cookie cutters, and a large bowl. The mold is placed on top of the bowl to catch any water squeezed out and the cookie cutters act kinda like a deckle. The mess is contained and participants have the opportunity to experiment with shapes!
As we began to prototype, we ran into another issue- how would we create the pulp? Homemade paper pulp usually involves a blender, something that would be difficult to pull off in an outdoor event without access to electricity. And since the pulp involves water, prepping larger batches ahead of time would mean they could get moldy.
First, we tried creating pulp, drying it out, and then mixing the resulting bits of pulp with water, but the paper just ended up too chunky.
That’s where the idea of our paper fluff was born! Instead of trying to rehydrate the larger bits, we added them back to the blender and went to town. The fluffy result broke down beautifully in water.
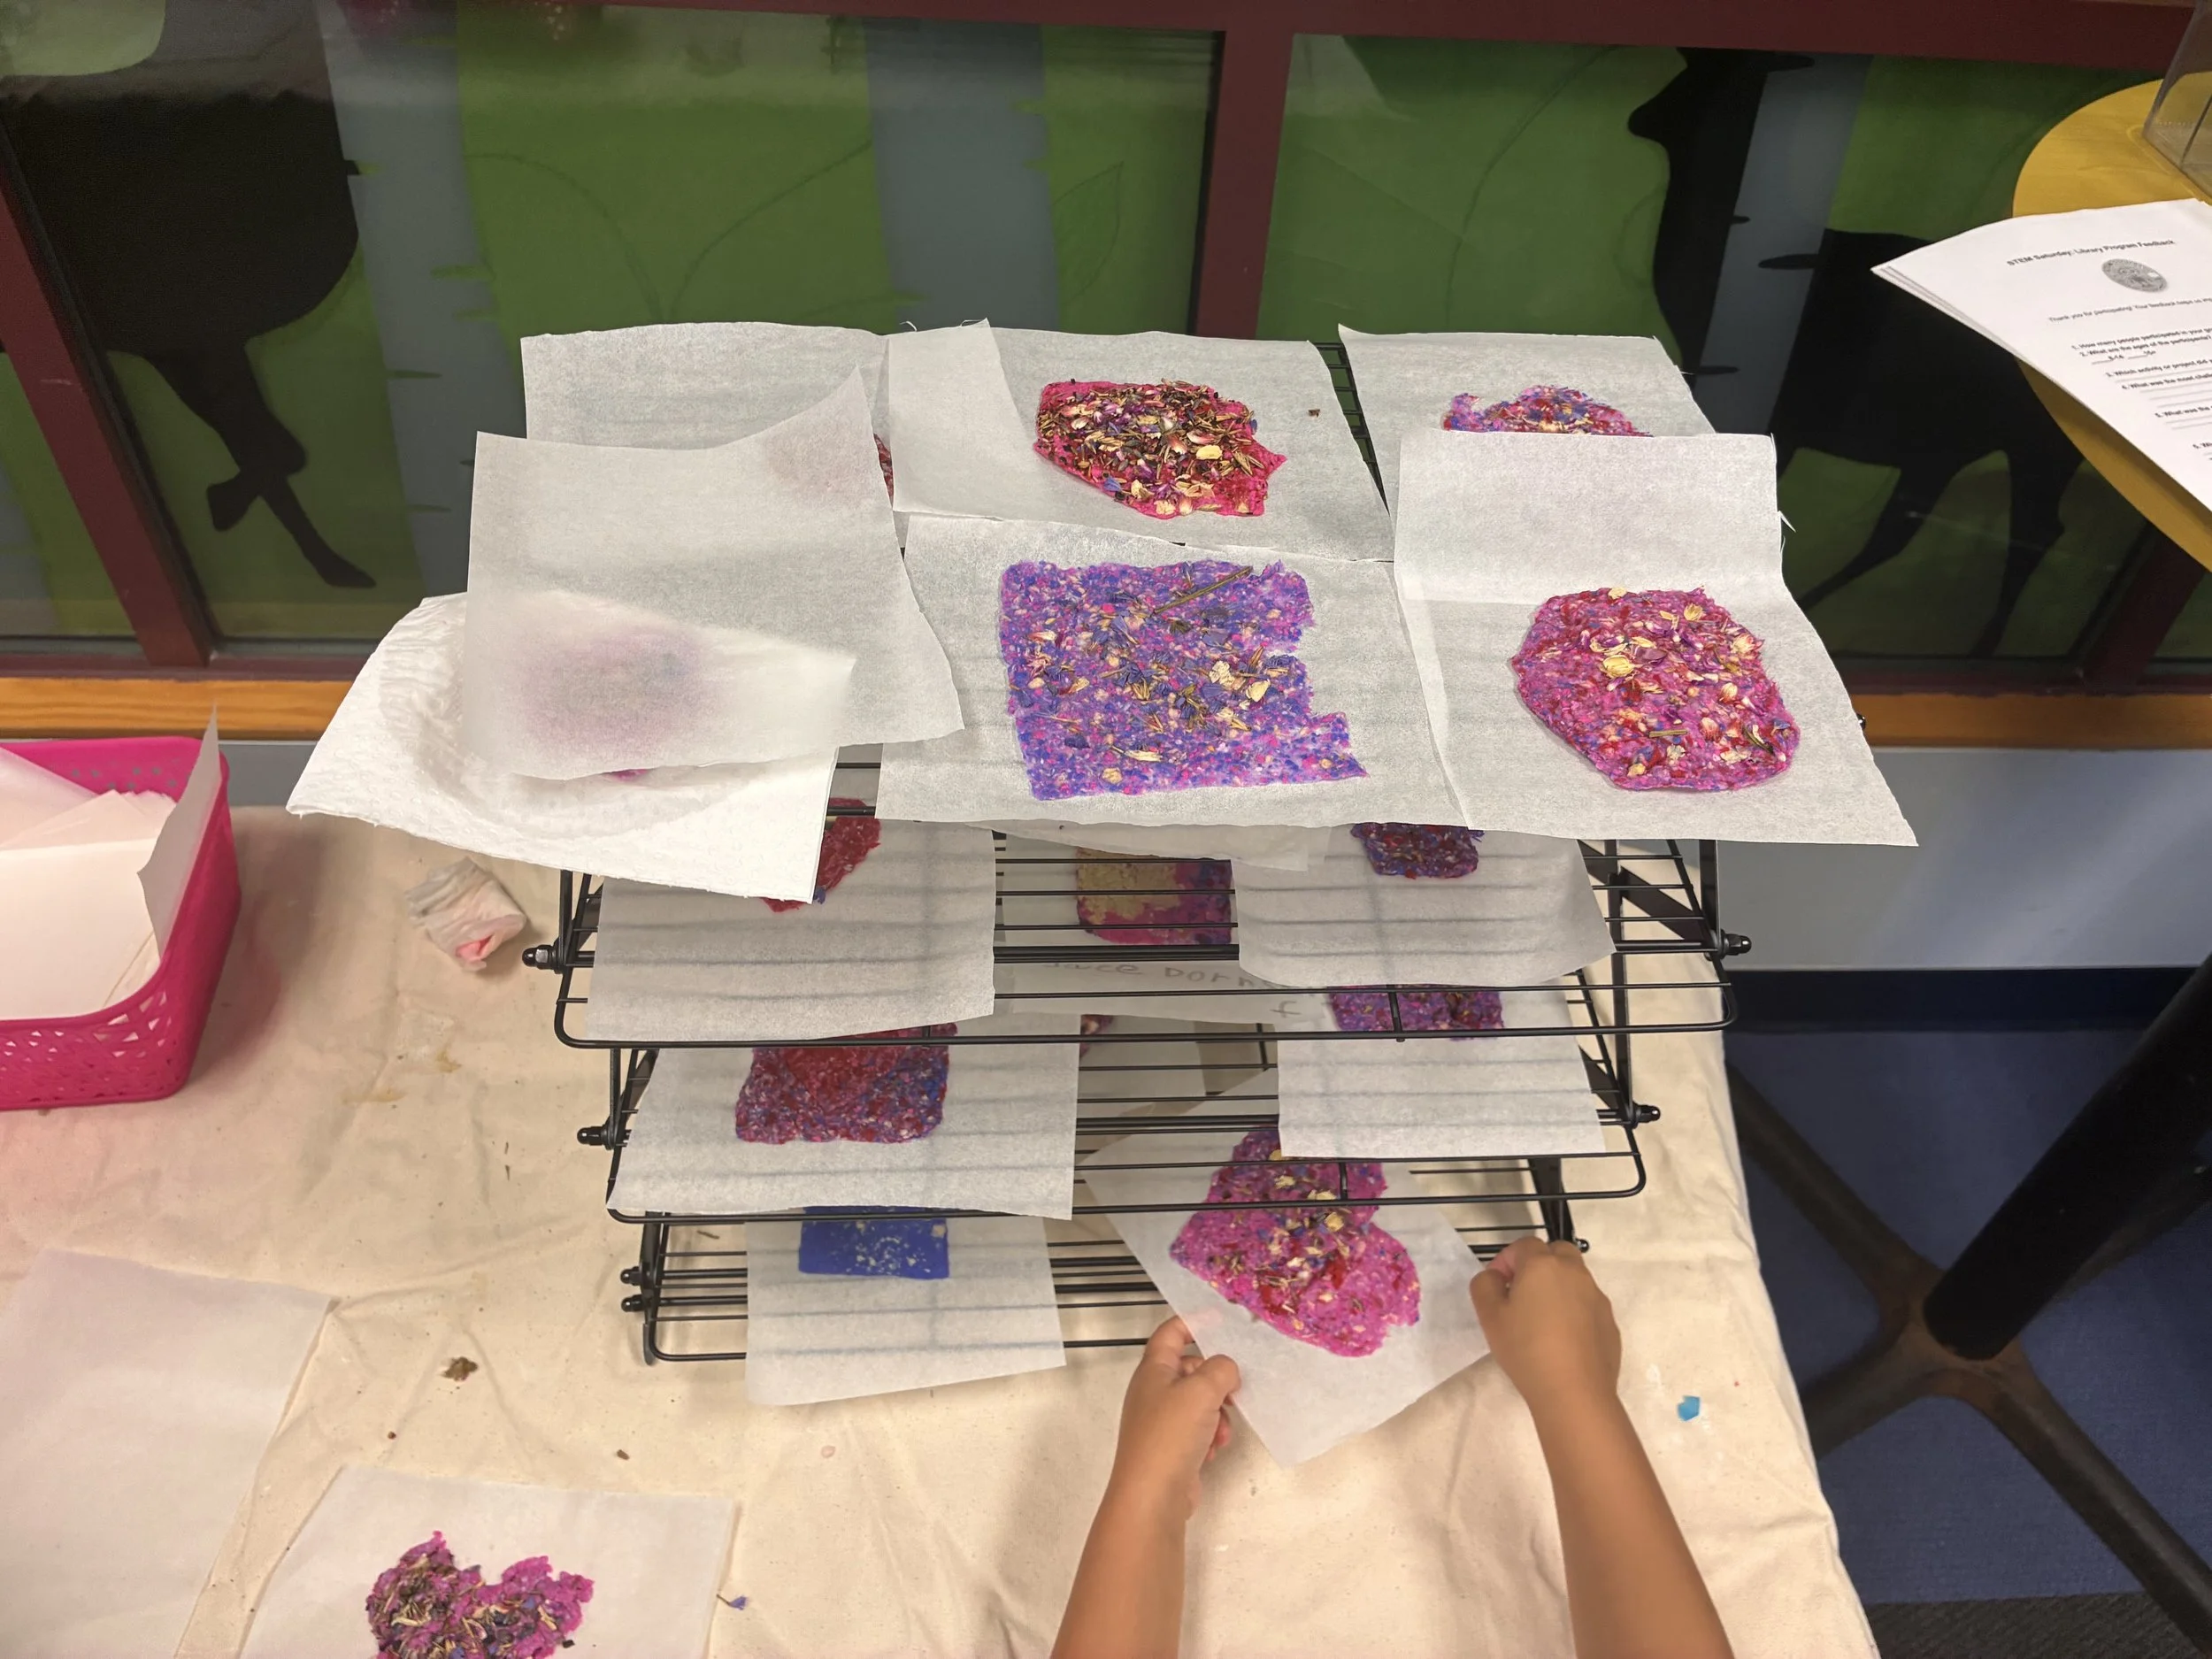
In order to maximize creative choice for the event, we also offer multiple colors, so participants can choose the shape and experiment with different color combinations. We also offer dried flowers and native wildflower seeds from Prairie Moon Nursery that can be added. Paper with seeds can even be planted at home!
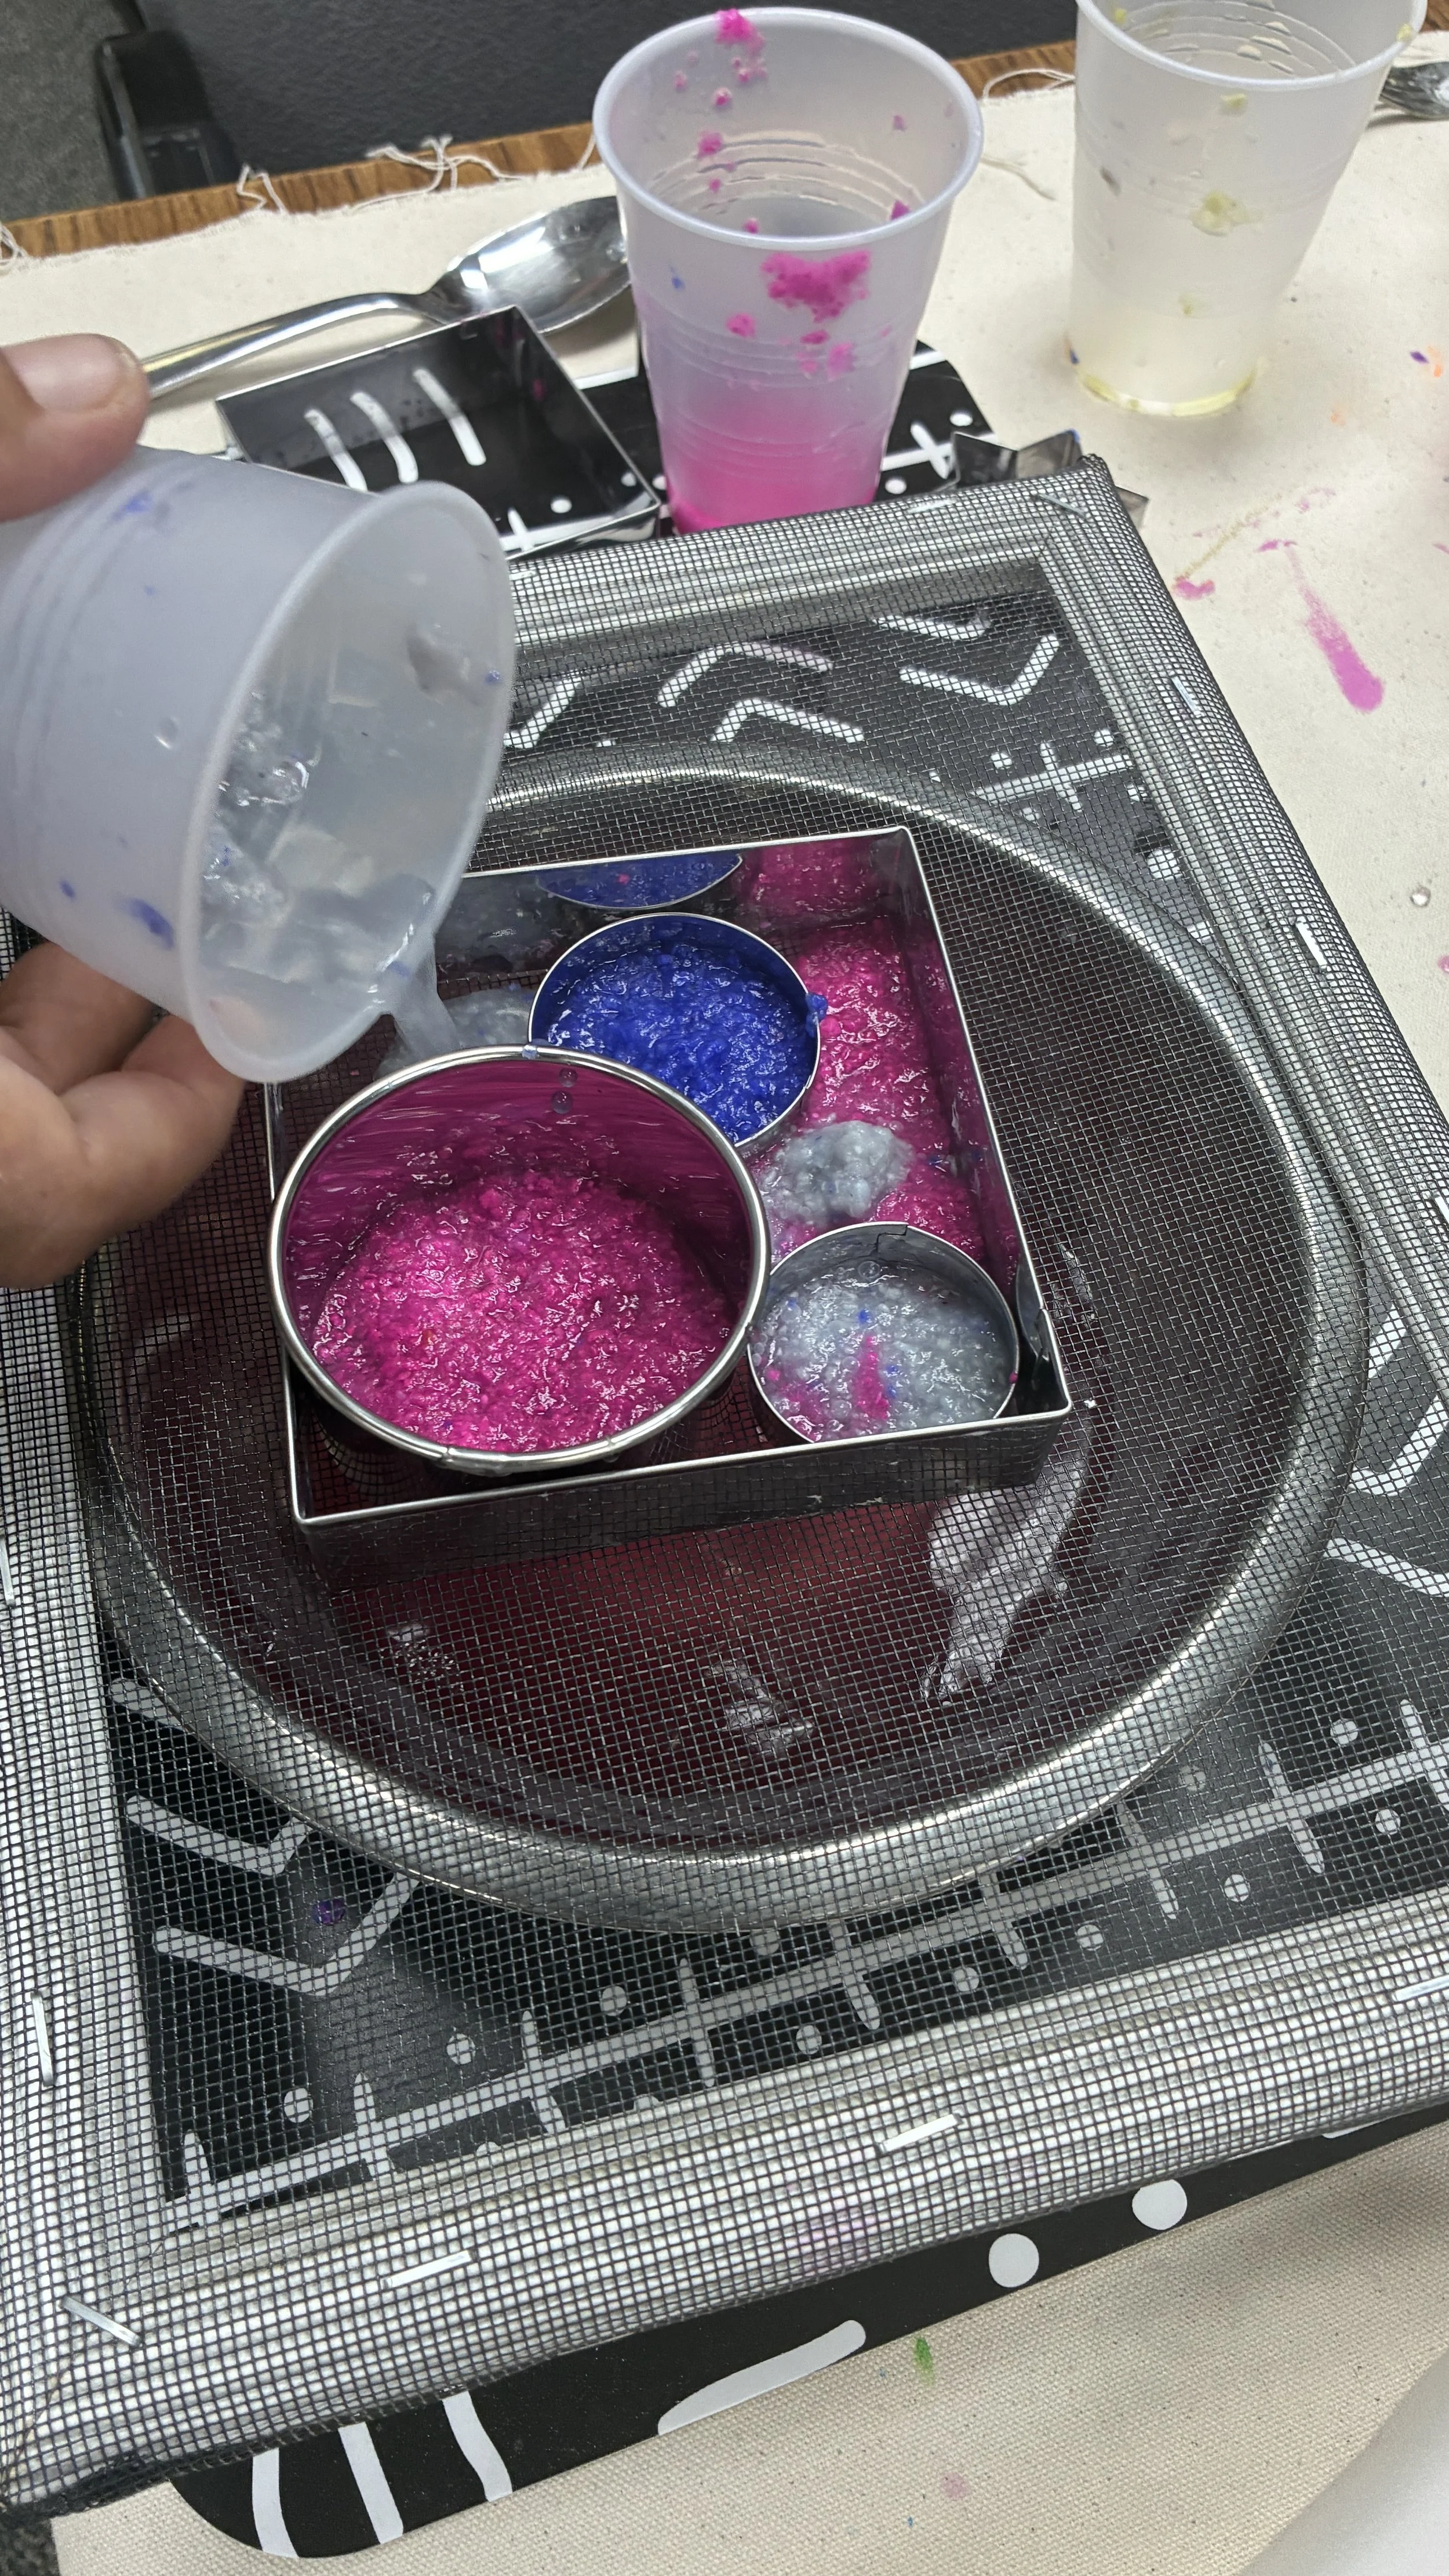
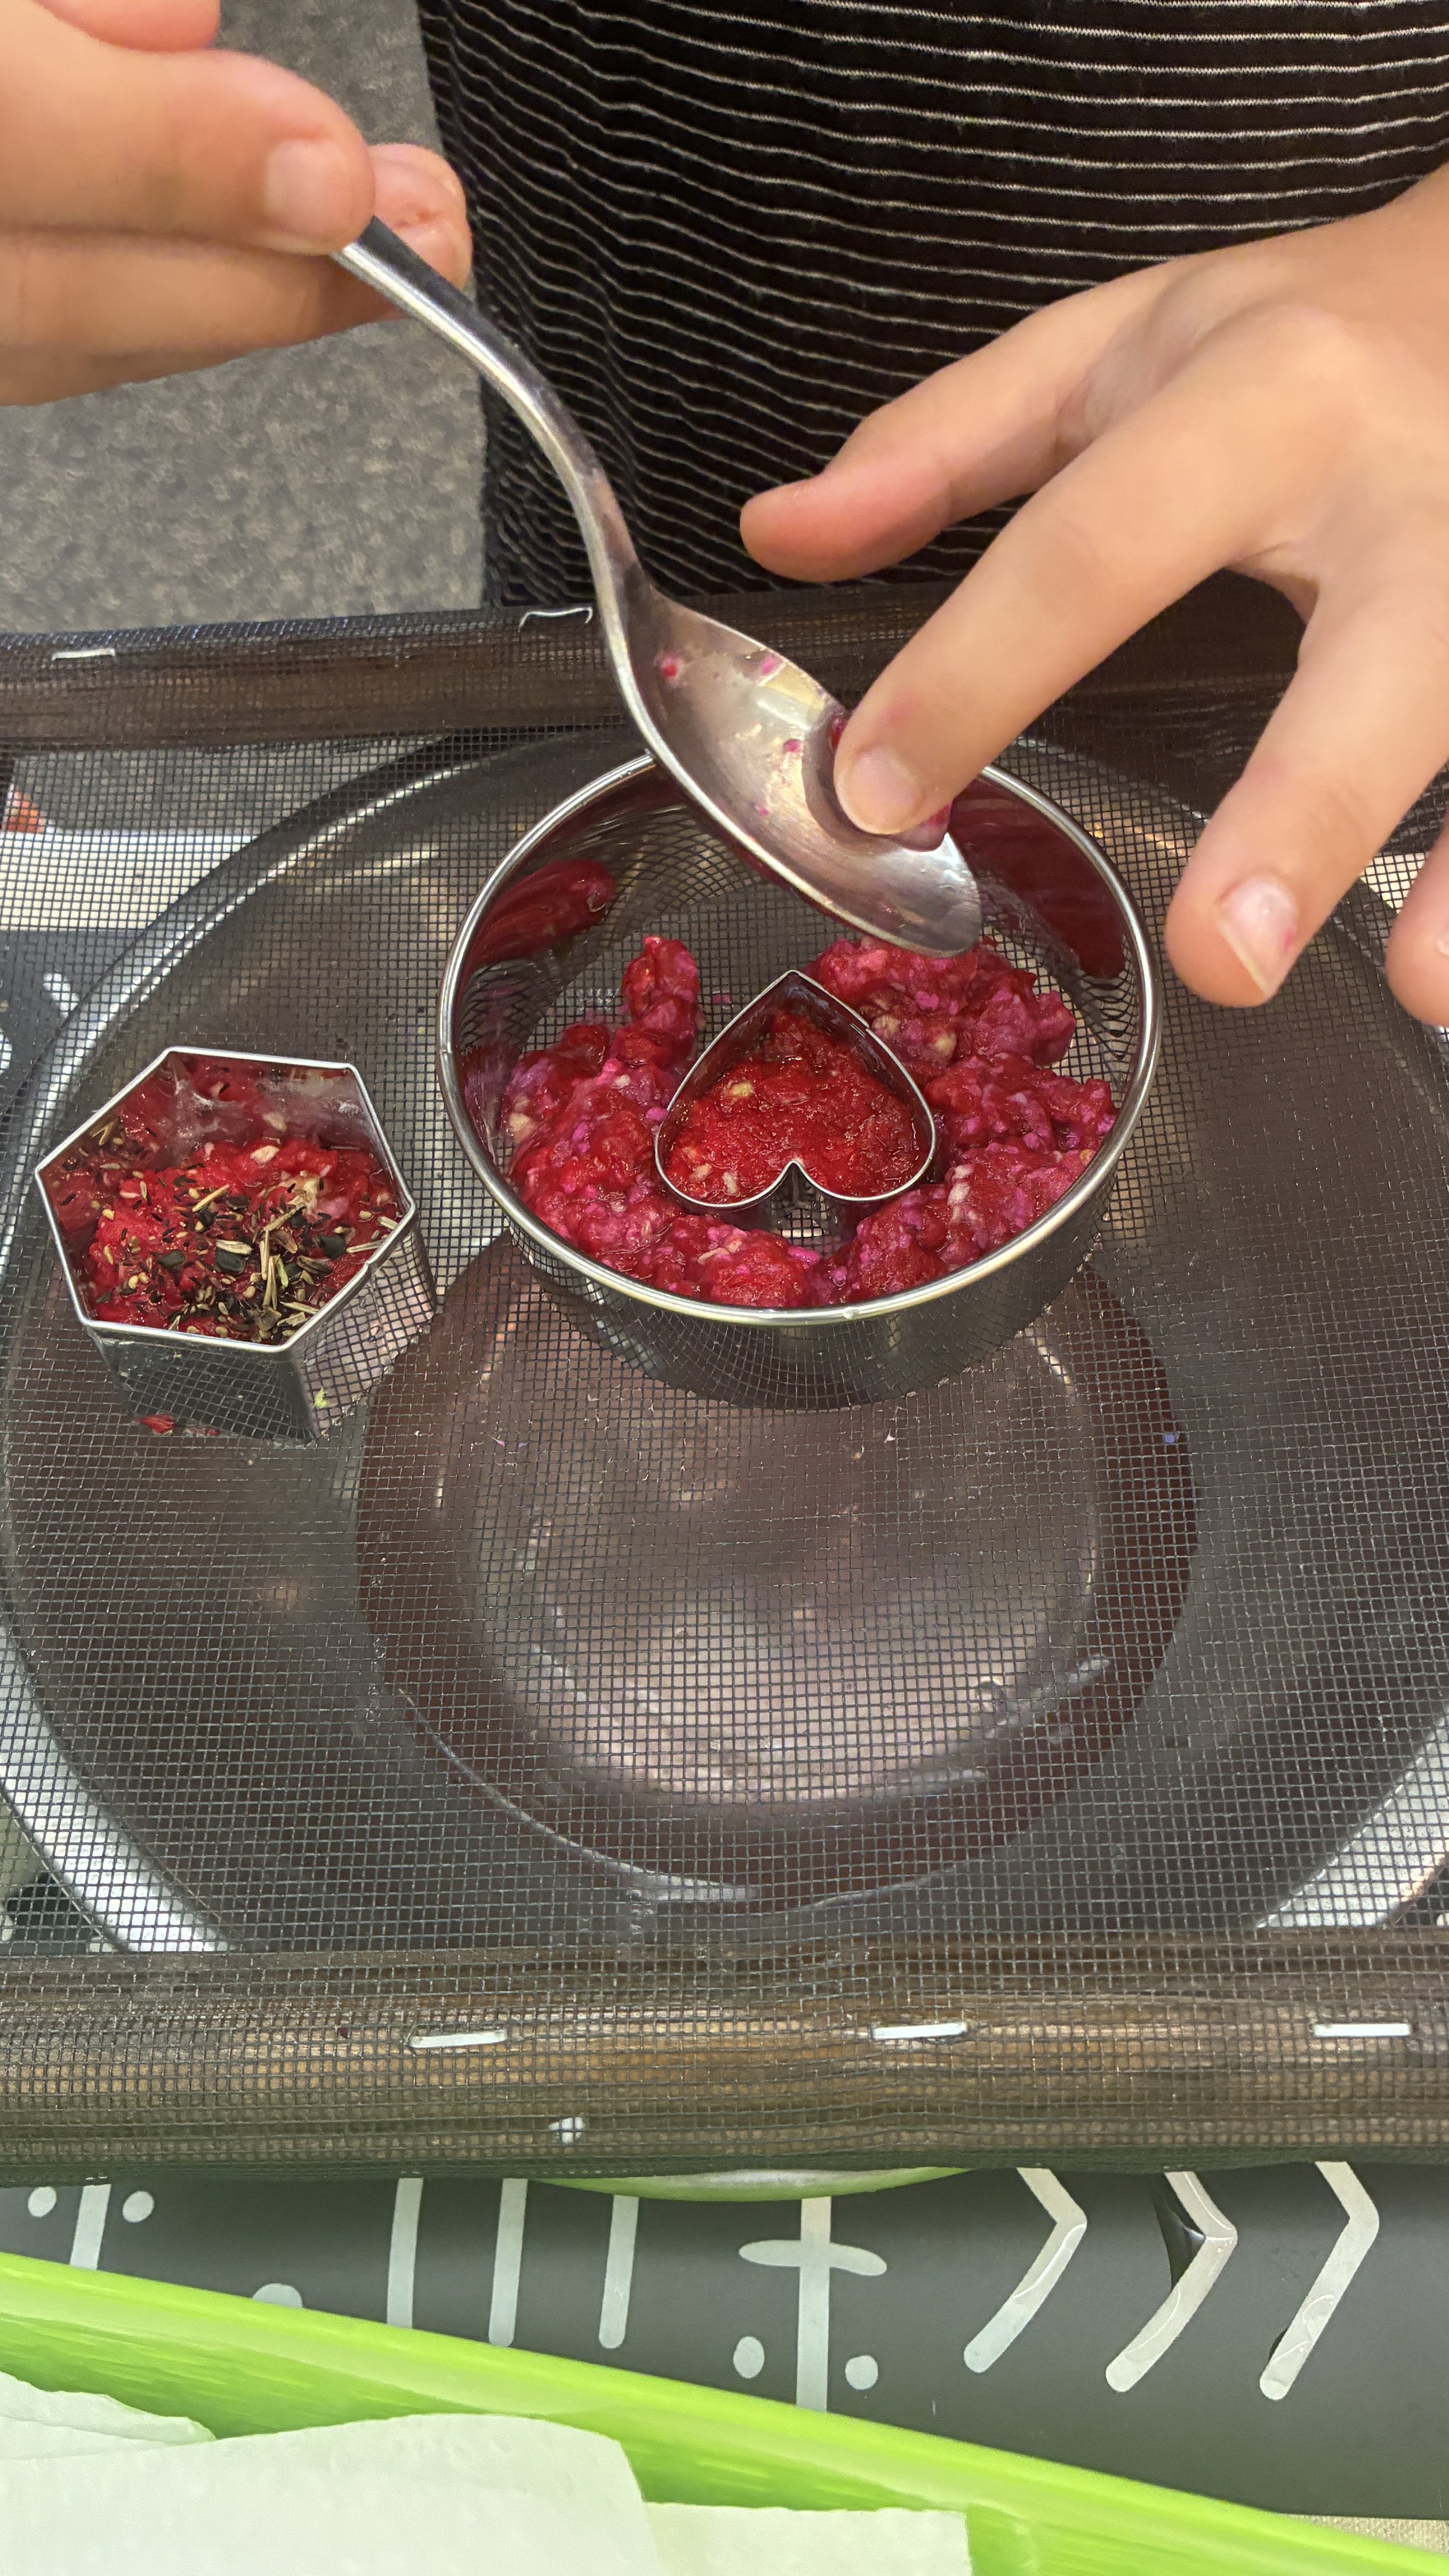
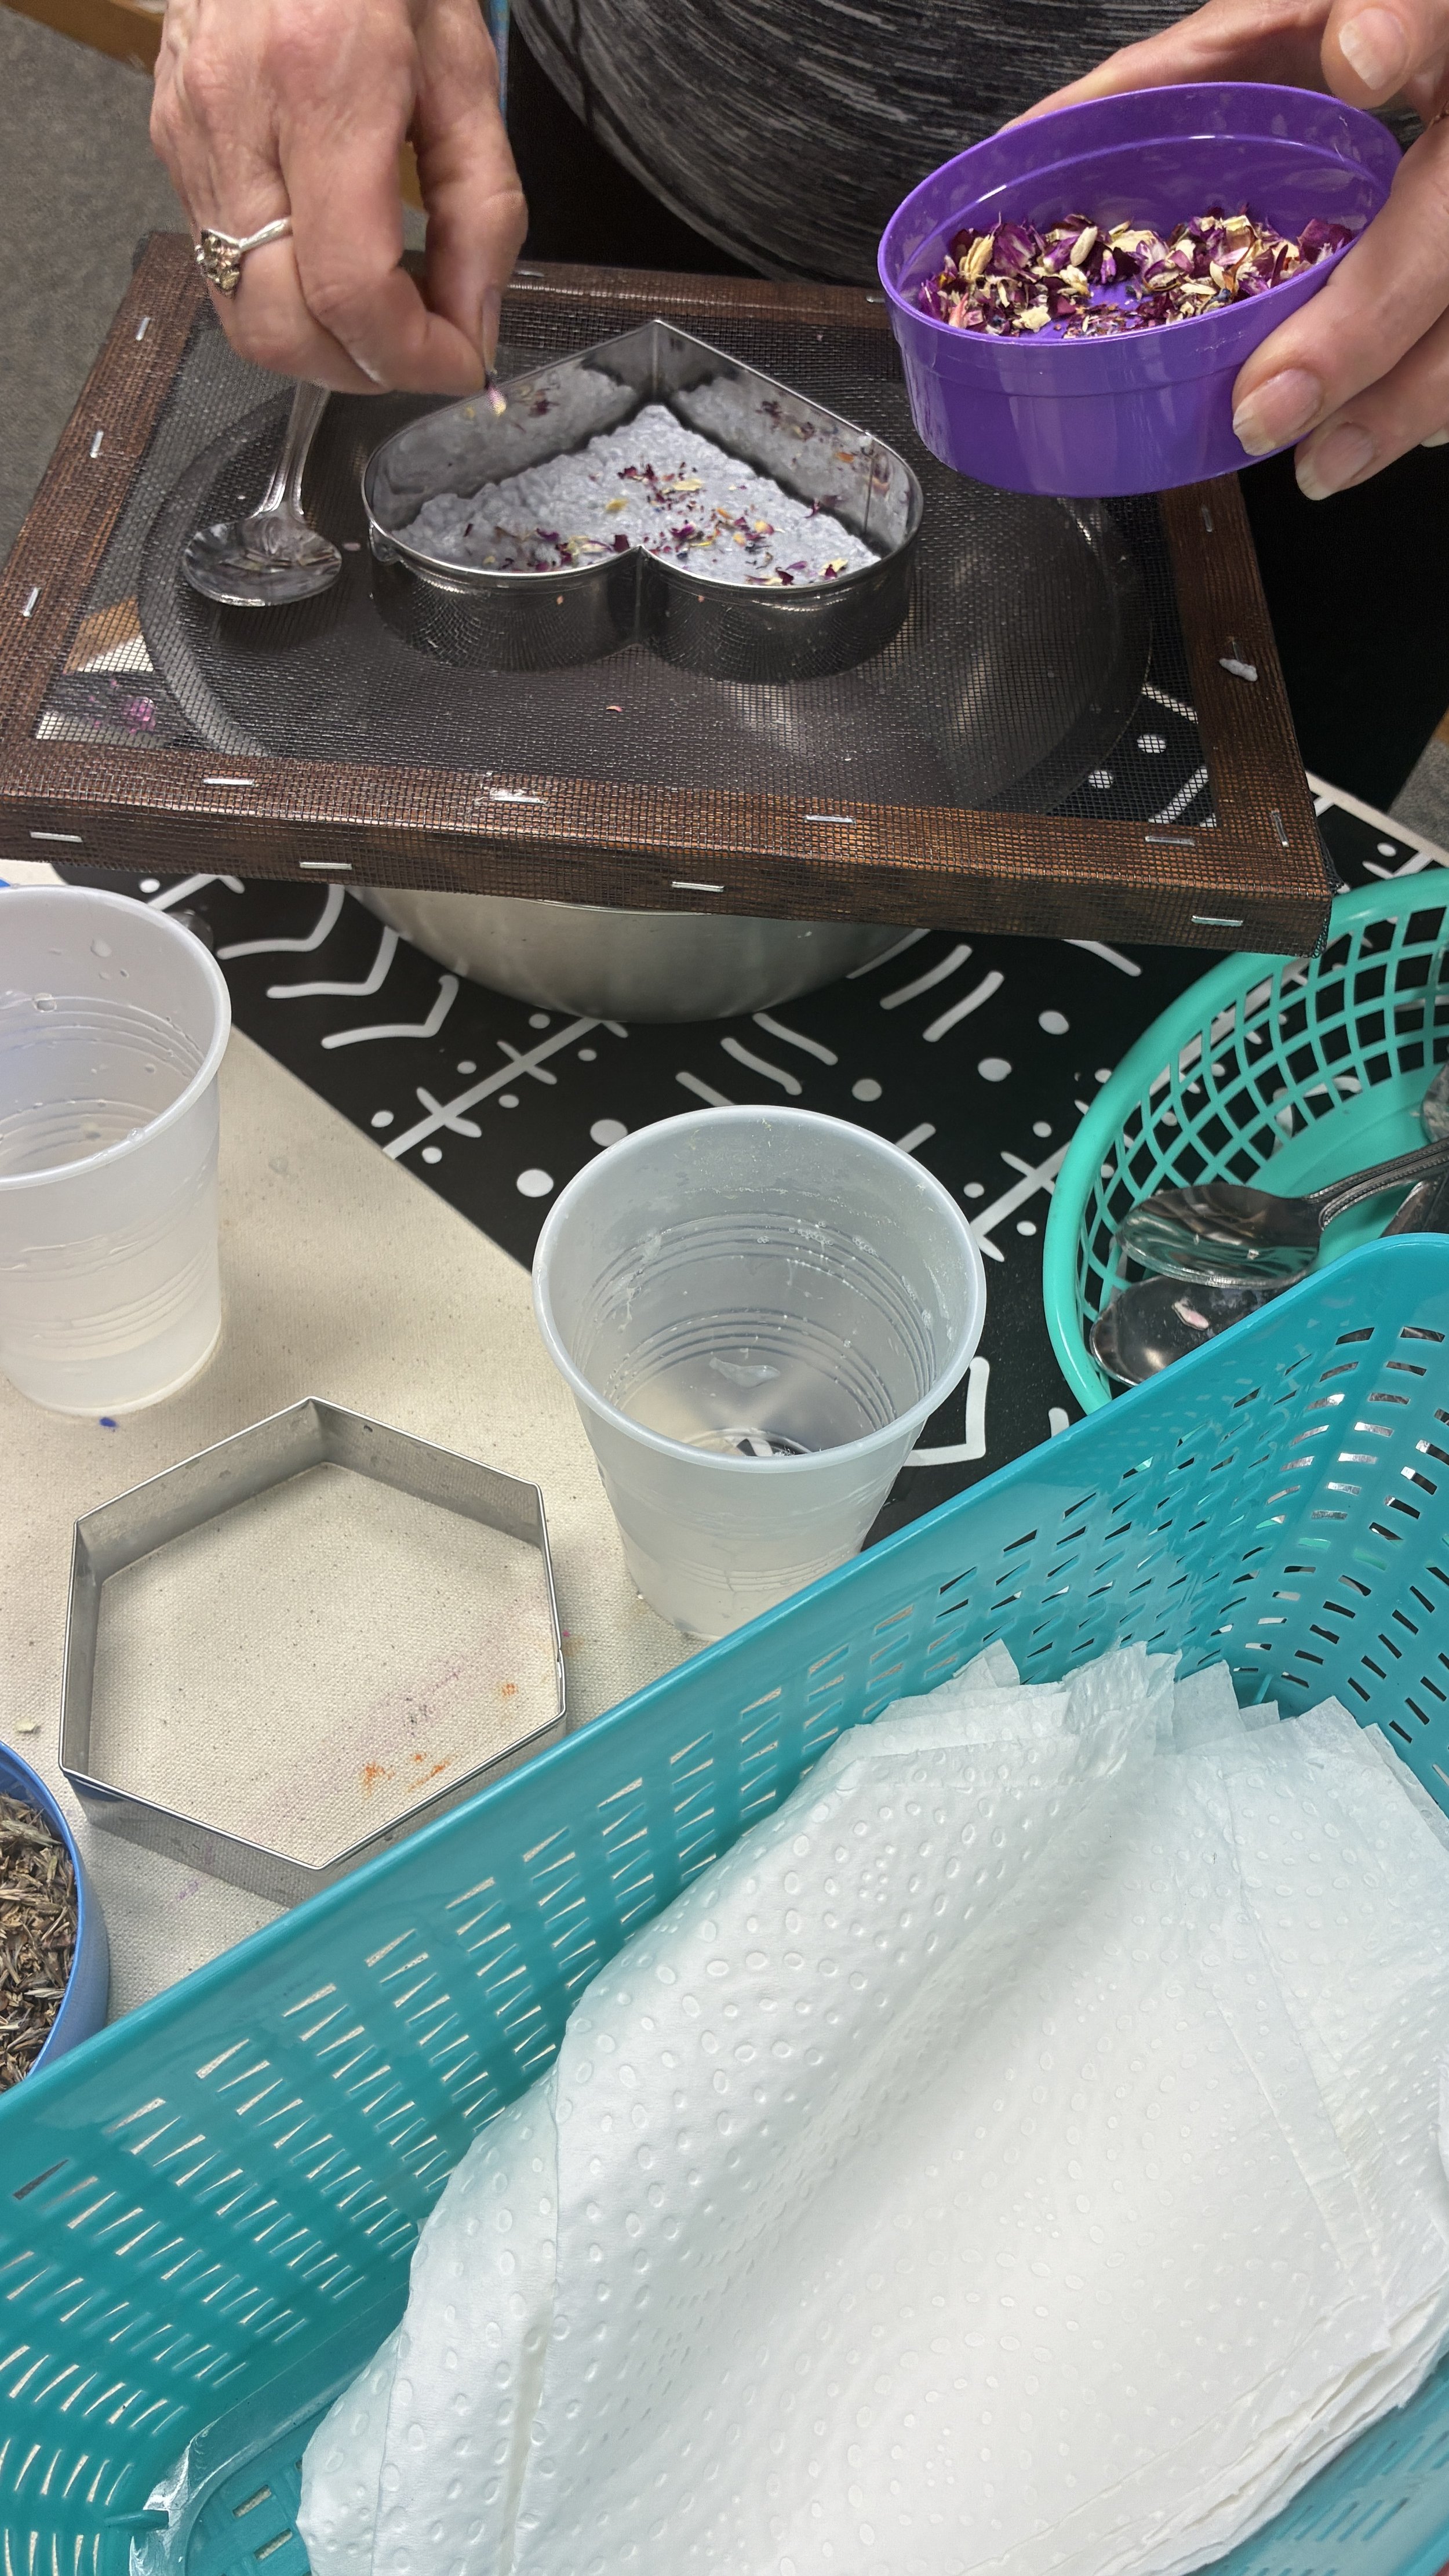
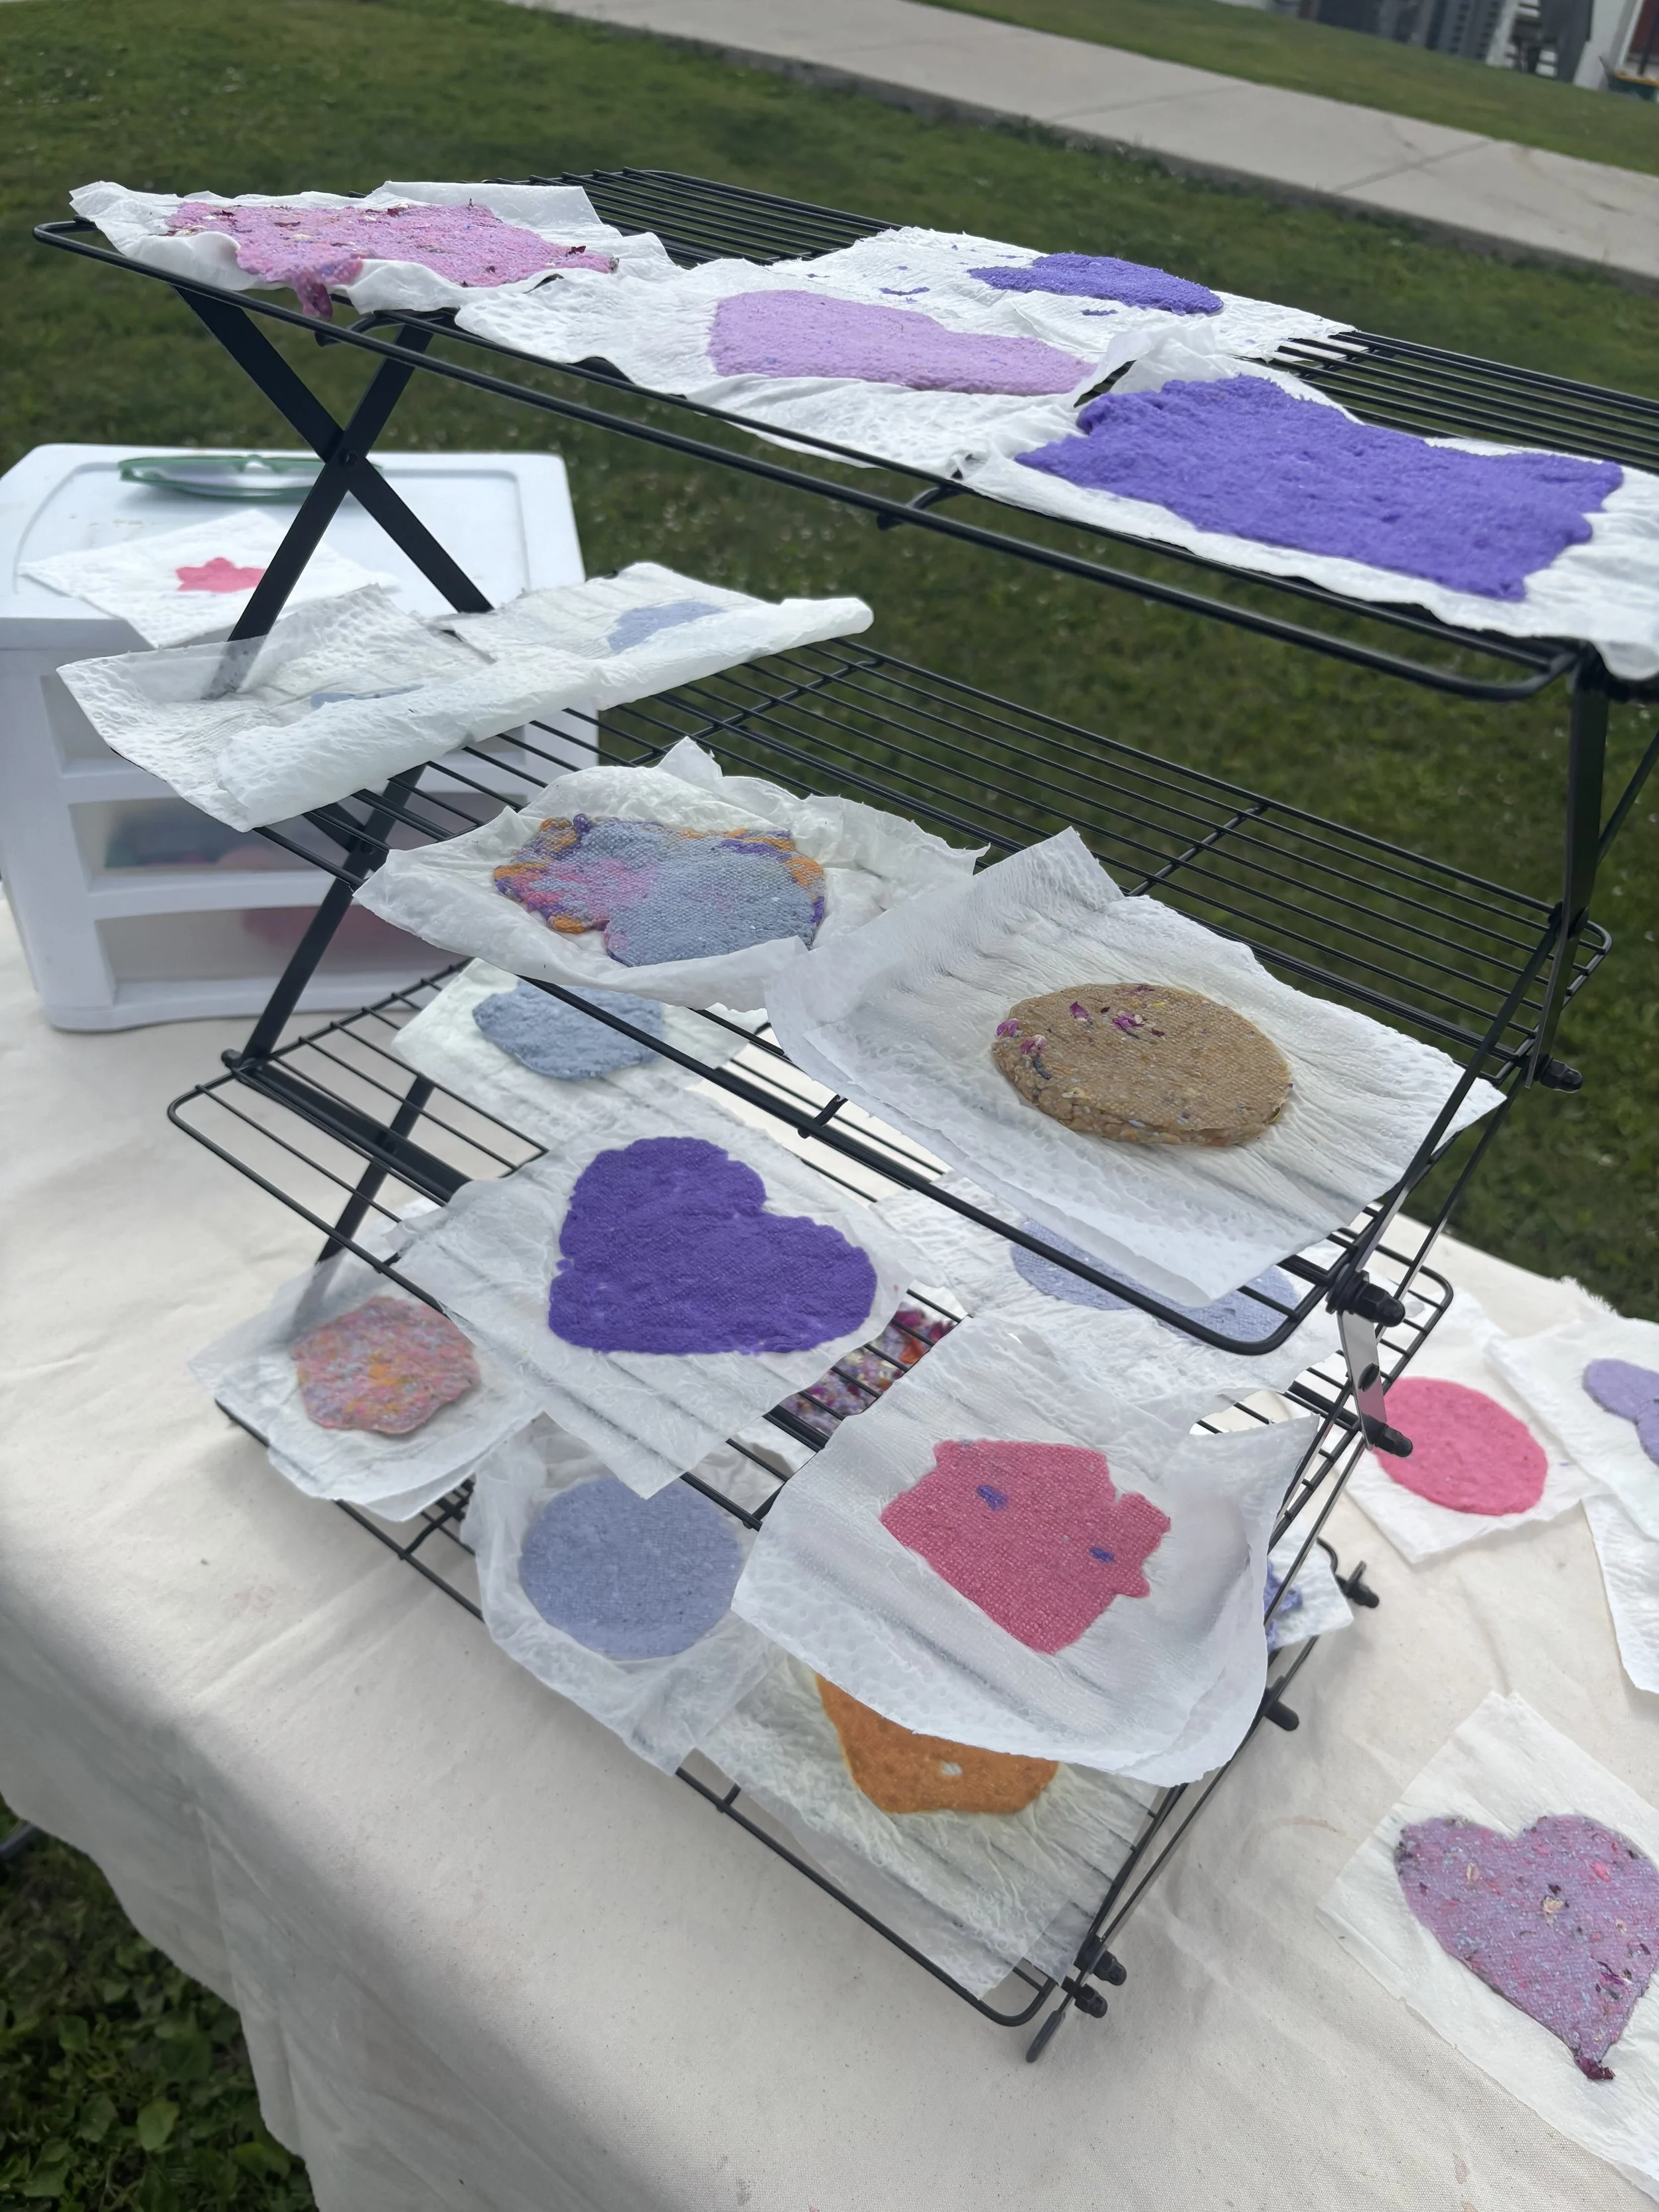
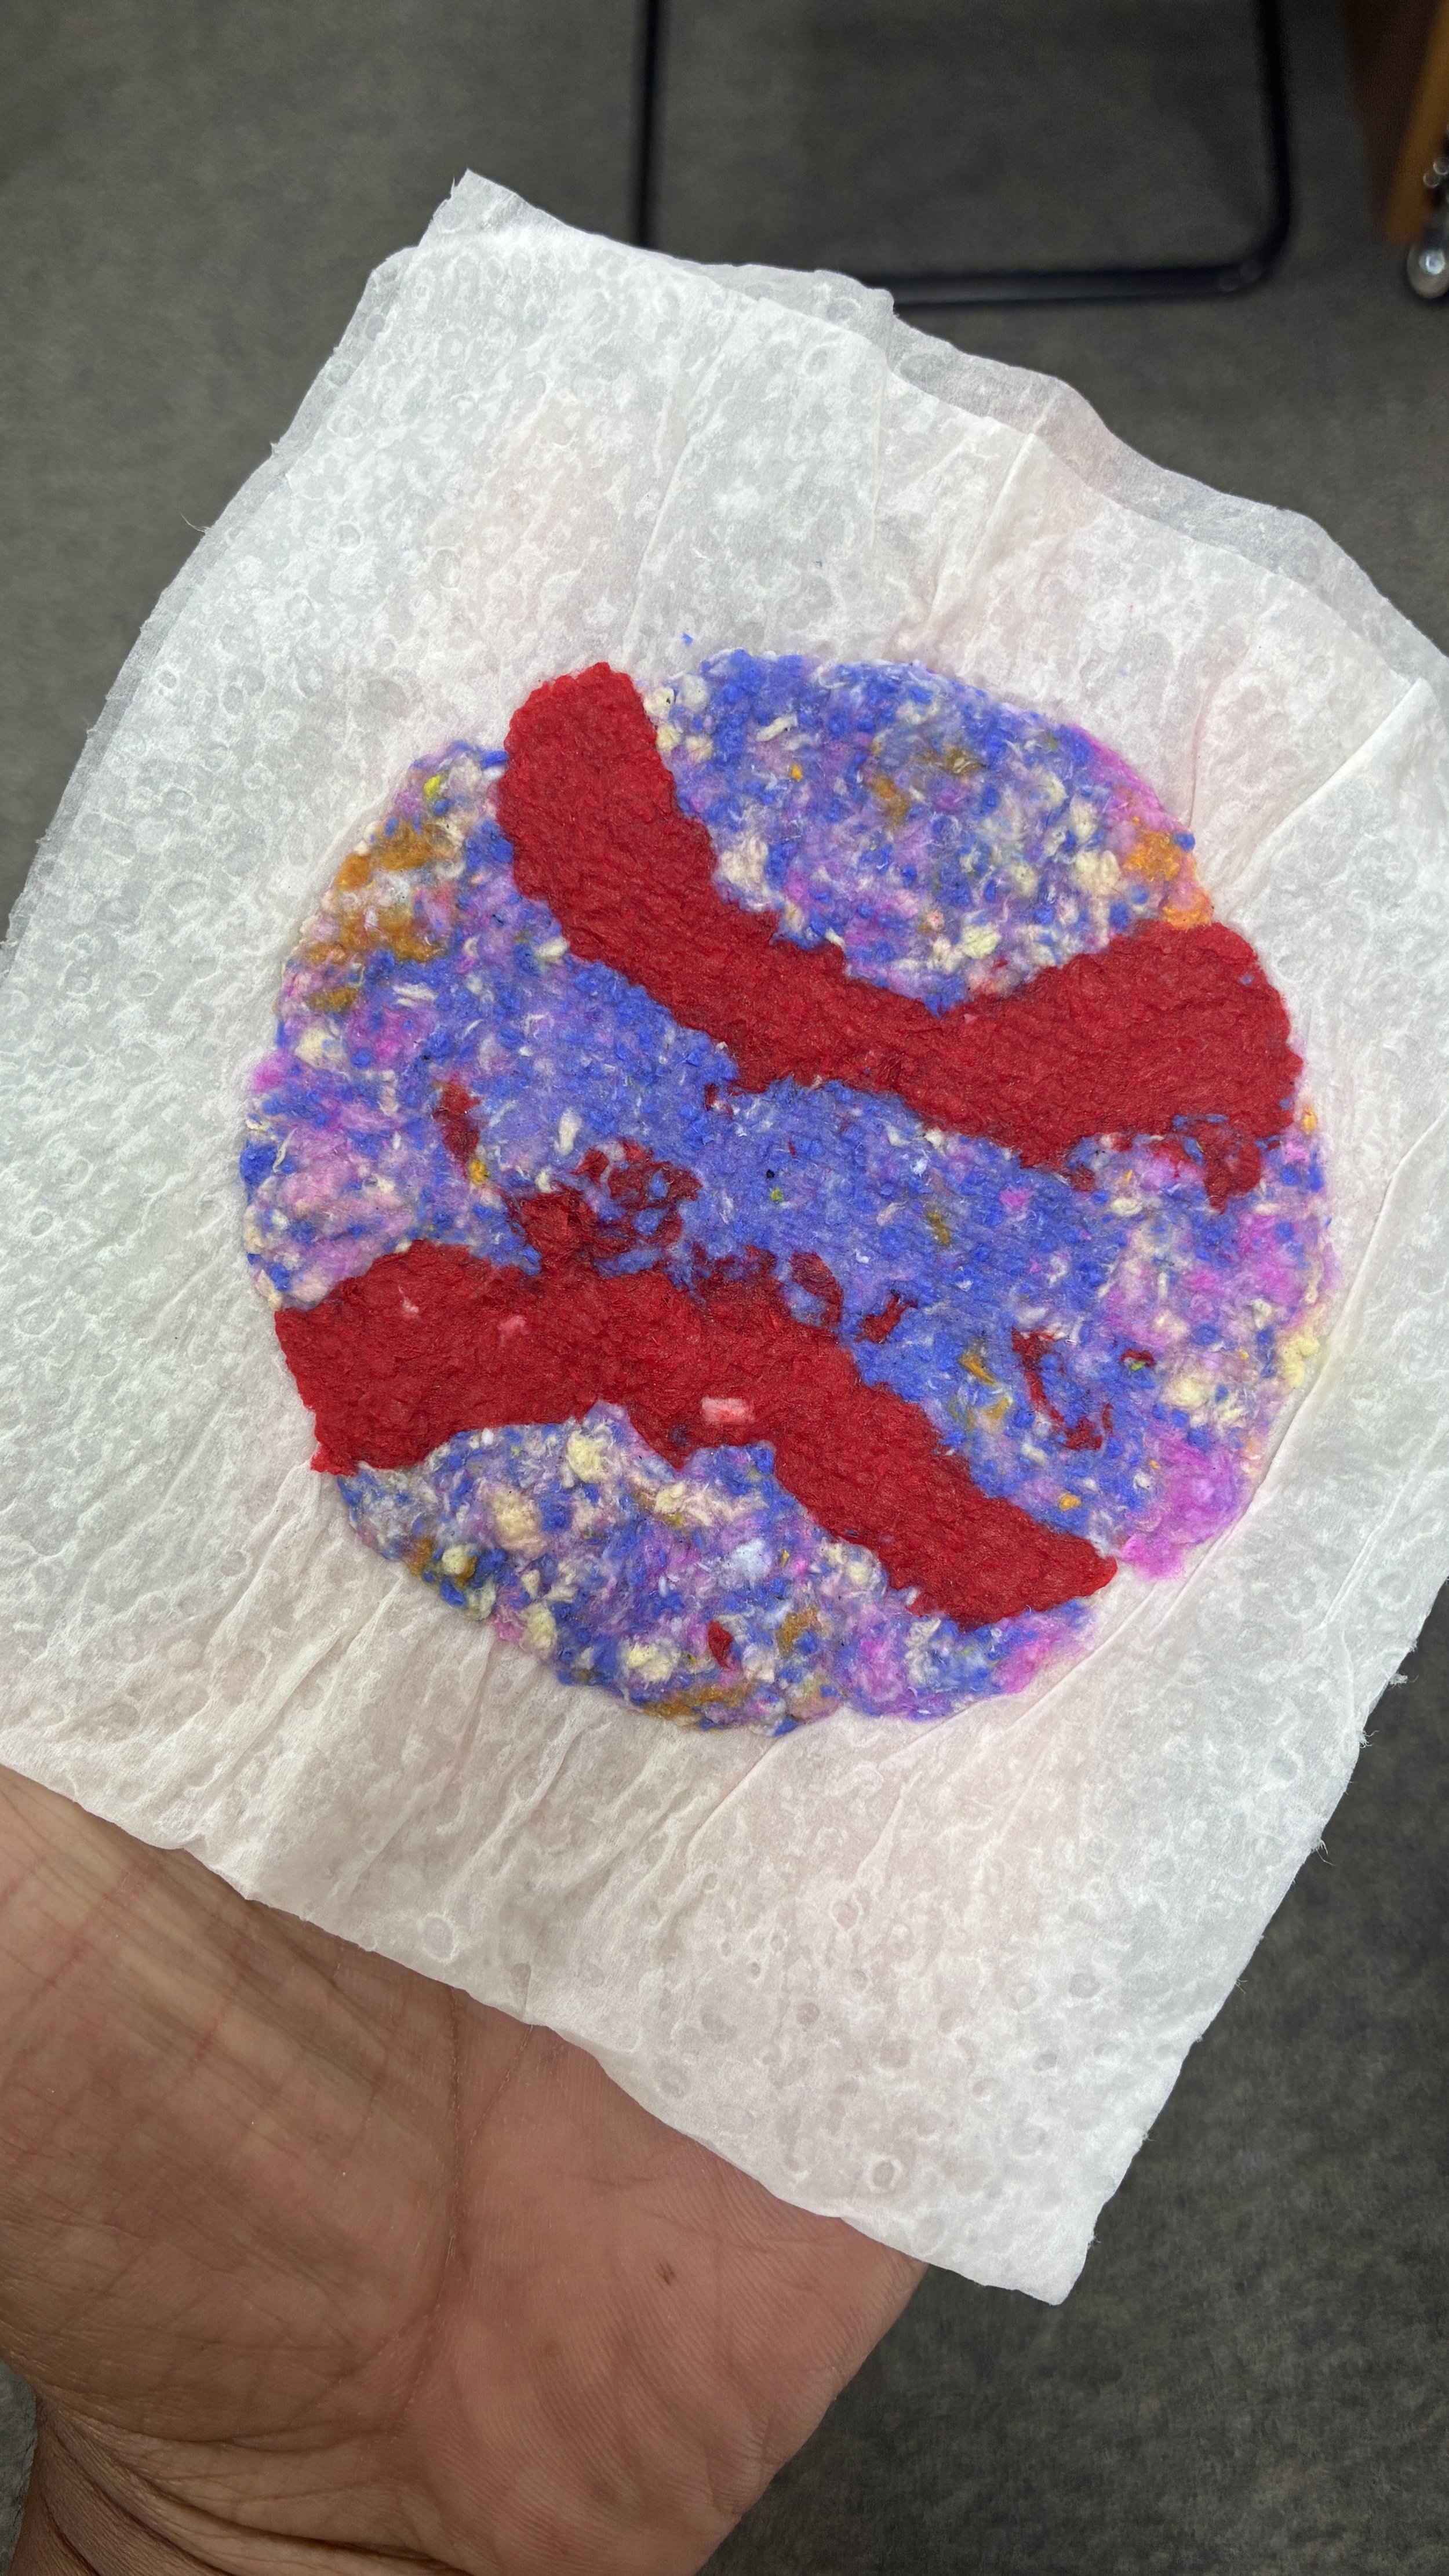
Join us for Pulp Pages this summer EXCLUSIVELY at Great River Regional Library
July 30- Waite Park Library
August 1- Clearwater Library
August 12- Pierz Library
August 15- Elk River Library
August 20- Lion’s Park in Foley
August 29- Sauk Center Festival
Check out our calendar for all the details!
Interested in making some handmade paper yourself?
You’ll need an adult, so first step is finding one who can help!
Next, make a screen:
Find a wooden or plastic picture frame.
Thrift stores are a great place to find these! Real wood is best since it will be getting wet, but plastic or anything else that holds up to water would work.
Remove the backing and glass.
Find some window screen mesh (this can usually be found at hardware stores) or other kind of mesh with fine holes.
We recommend something like vinyl or fiberglass- metal can have sharp edges!
Cut a square of the mesh a bit larger than your frame.
Wrap the mesh around the frame so it covers the whole frame.
Hold the mesh tightly and start with stapling one section of the frame. As you go on to the other side, make sure to hold it tightly so there isn’t any give in the mesh covering the open area.
Staple the other side of the frame for extra security.
Next, make some paper pulp:
Find some junk mail or scrap paper.
Note- if there’s a lot of ink or color on the paper, it will change the final color. White paper with black ink often turns a light grey or blue color.
You can also use cardboard, dryer lint, and with proper preparation even things like plants and fabric can be turned into paper pulp!
Tear or cut the paper up into small pieces.
A paper shredder works really great for this, but even just tearing it with your hands works.
Soak the paper pieces in water for a few hours (up to overnight)
This step can be skipped if needed, but your final paper pieces won’t be as smooth. The longer you leave the water soaking, the easier it will be to blend.
Add your soaked paper and plenty of water to a blender.
Start with a smaller amount of soaked paper to see how your blender handles it.
Don’t worry about using too much water, it’ll be removed later.
Blend until smooth– you’ve now got paper pulp!
Finally, make some paper:
Find something like a cookie cutter, smaller frame, or even an open tin can— this will act as the shape of your paper.
You can also use something like a cut up milk jug or plastic yogurt container- it just needs to be waterproof, openings on both sides, and have a rigid shape. Just be careful when cutting those!
Find a bowl or container that’s about the same size as your screen and put the screen on top.
Put your cookie cutter or other shape on top of your screen.
Mix up your pulp (separation can happen).
Pour or spoon your pulp into the shape until it makes an even layer.
Use your finger or some extra water to move the pulp around if needed.
Try not to make it too thin or too thick.
If you have seeds, flowers, or anything else you want to add, sprinkle that on top of your pulp.
Remove the cookie cutter or other shape.
Place a paper towel on top of the paper and lightly press with a sponge to remove as much water as possible.
Don’t worry if you don’t get it all!
Flip the screen over so the paper towel is in your hand- the paper should come off the screen!
If it’s not coming off, gently tap the screen.
If it’s still not coming off, flip it back around and continue using the sponge to remove water.
Find a safe, flat spot to let your paper dry for 24-36 hours.
Use your new paper to make something amazing!